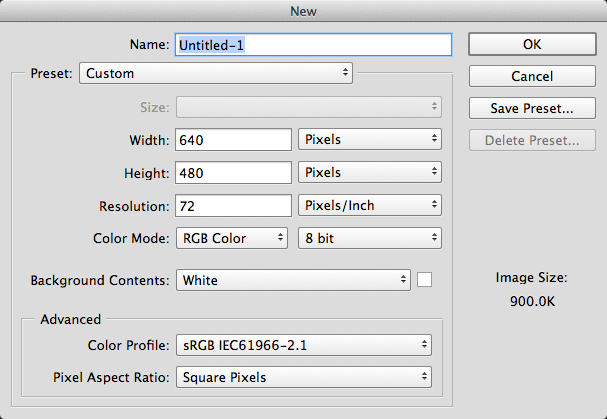
Press Command+N(Ctrl on windows) to create a new Photoshop file to your preferred dimensions, leave all settings as defaults, 640x480 is used in the example here
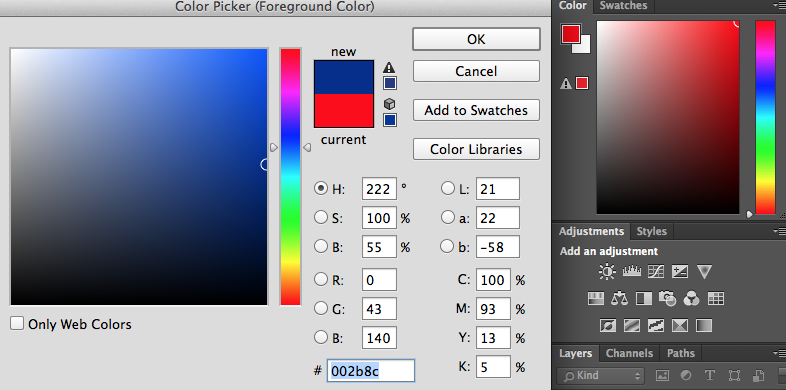
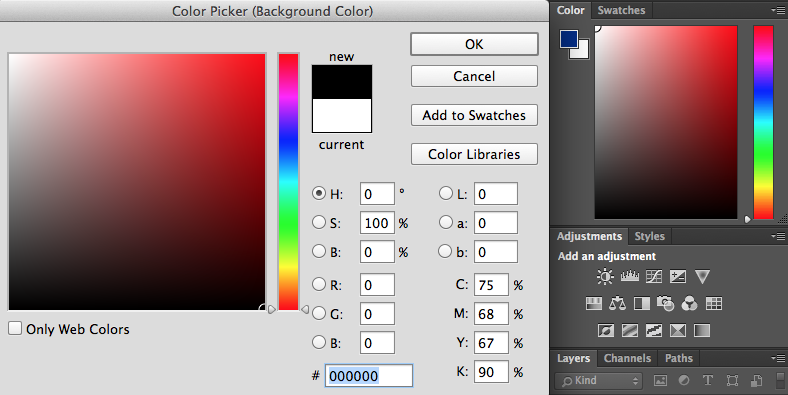
Click on the colour squares to set your foreground and background colours. The square upfront is foreground, set that to a colour you prefer in your background as space dust, dark blue is used here. Set the background, by selecting the square in the back, as black.
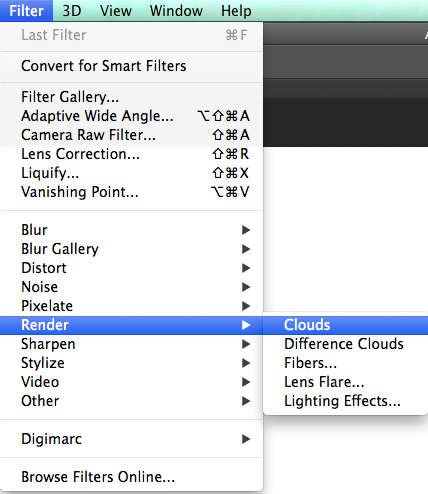
Go to the menubar at the top, select filter, then render, then clouds, this will render clouds of a mixture of the two colours
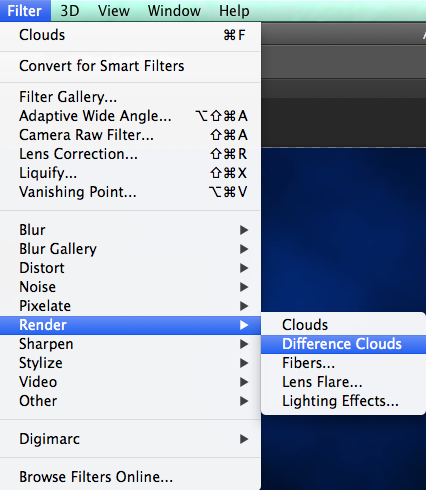
Go to the menubar at the top, select filter, then render, then difference clouds to render clouds of the inverse colours
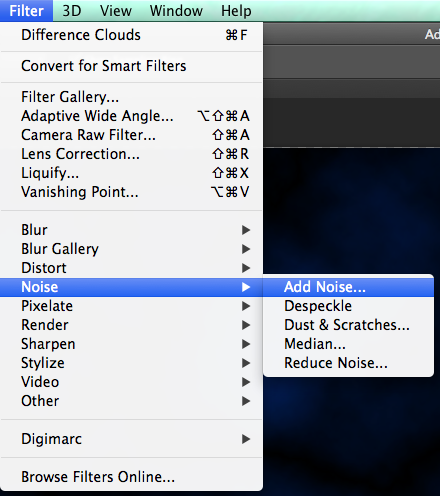
Go to the menubar at the top, select filter, then noise, then add noise, this will act as stars in space
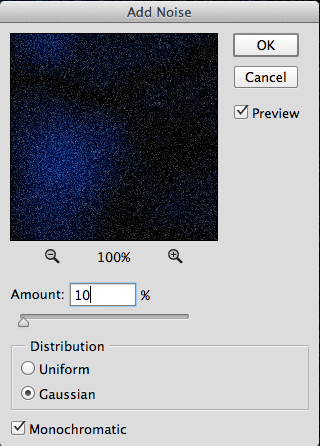
Set the noise level to your preference, 10% is used here. Select gaussian, then monochromatic. Gaussian makes it more random, and monochromatic provides you with only white stars
 .
.
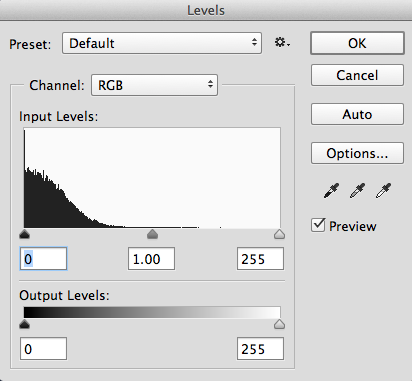
Press Command+L to bring up the level menus. Move the first two arrows around to find your preferred levels of noise and darkness
Made by Josh Hu
Contact