You Can Create
Mailing Labels Using the AppleWorks Assistant
- (for
AppleWorks 6)
After you have entered the names and
addresses in a database, you can use the information in any number of
ways. One convenient use of a database is to print mailing labels.
When you first create a database, it has just one layout or screen
appearance. You can have several different views, or
Layouts, of the same information. In this
tutorial, you'll create another layout to see and print your
information in label format. You will use the Create Labels Assistant
to create the label layout and save time.
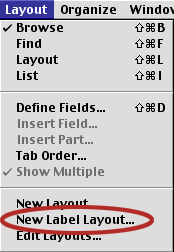
- From the Layout menu, choose New
Label Layout.
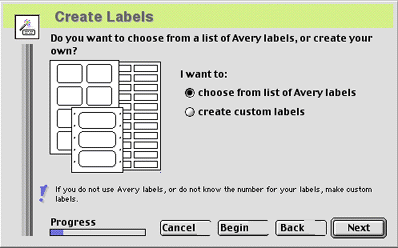
- You will be greated with a Welcome the
AppleWorks Assistance screen, click Next.
- Since you will choose from list of Avery
labels. click Next. AppleWorks offers a wide choice of
commercially available Avery labels.
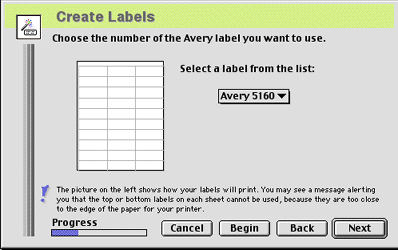
- The Avery 5160 label is pre-selected for
you (this is the most common label layout). Use the pop-up
menu to select an alternate label style if needed. Click
Next.
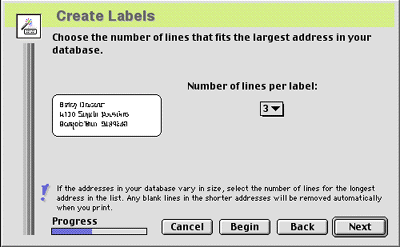
- Click Next to create three lines per
label (or change the number of lines if needed).
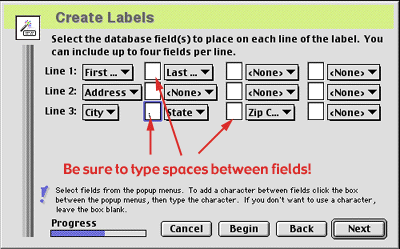
- Select database fields for each line in
label. Your choices may resemble this example:
From first Line 1 pop-up menu, choose First
Name.
From second Line 1 pop-up menu, choose Last
Name.
From first Line 2 pop-up menu, choose
Address.
From first Line 3 pop-up menu, choose
City.
From second Line 3 pop-up menu, choose
State.
From third Line 3 popup menu, choose Zip
Code.
- You will probably want to add information
between the City and State fields (such as a comma and a space).
Click into the white area between pop-up menus containing
City and State. (Be sure to also type a space between the first
and last name if you have a separate field for each). Click
Next.
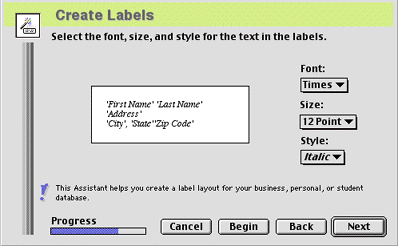
- From Font pop-up menu, choose Times.
From Size pop-up menu, choose 12. From Style pop-up menu,
choose Italic. Click Next.
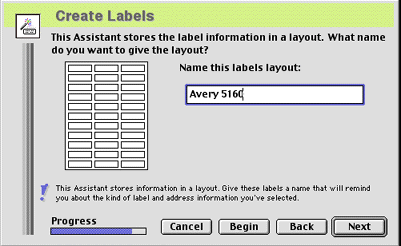
- Optional: Rename the Avery 5160
layout if desired. Click Next.
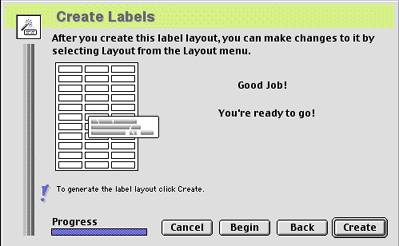
- Good Job! (Be sure to pat yourself on
the back!!) Click Create.
- Choose Window -> Page View to see
how labels will look when printed.
- Choose Layout-Layout 1 to return to
your first layout.
Why not customize your labels with Graphics!?
With a little manipulation you can customize
your new labels with a graphic. The AppleWorks Clippings feature
gives you thousands to choose from! (If you would like to make a
sheet of "return address" labels for yourself, simply use the
Edit --> Duplicate
Record command to create 30 duplicates of the
record containing your address.)
- From the Layout menu, select
Layout. Here you will see how the label fields are
"physically" placed onto the page. The assistant created three
new fields for you (Label Line 1, Label Line 2 and Label Line
3).
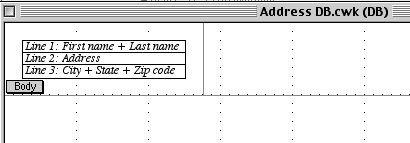
- From the Edit menu, choose Select
All. Use the side "field handles" to resize the width. Then,
with all the fields still selected, drag the fields to the right
to make room for your Graphic. (Click anywhere on a field to
drag -- avoid dragging by a "handle" since that only resizes the
fields.) HInt: Try using the "arrow" keys on
your keyboard to "nudge" the fields into place.
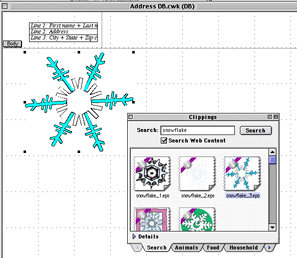
- From the File menu, select Show
Clippings and search for a graphic that you want to use on
your label. Use the Arrange -> Scale by Percent menu to
resize the graphic to fit , and drag the graphic to the left of
the fields.
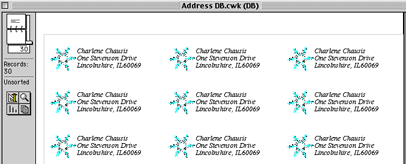
- When you return to the Layout -->
Browse mode, your completed labels should look something like
this!
Charlene Chausis
Technology Trainer
Adlai E. Stevenson H.S., Lincolnshire, IL
Return
to the Tutorials On-Line index page!


