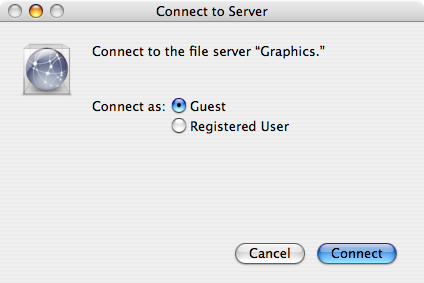
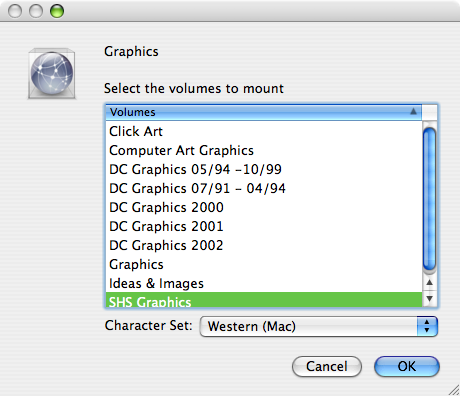
You will be prompted
to "Connect to file server 'Graphics' as" Click the Guest button and then click Connect.


 NOTE: Most
of these picture files cannot be opened by double clicking. Open the folders (or expand
them by clicking on the triangle to the left of the folder name)
to see file names of the pictures. Many pictures are coded by
number. Check the Clip Art Files books in the labs for
picture numbers. Each resource center and department secretary
should also have a copy of these books!
Drag the icon(s) into the Trash, or select the icon(s) and choose Eject from the File menu (keyboard shortcut: Command + E ).