Contributed by Foreign Language Teacher, Lori Polin-Silva

You can import songs from your CDs into your iTunes library. Imported songs are encoded and stored on your hard disk so you can listen to them without having the original CD.
1. Open up iTunes from your applications folder on your DOCK or directly from
your DOCK:

2. Insert an audio
CD in CD drive.
3. In a moment, the songs on the CD are listed in the iTunes window.
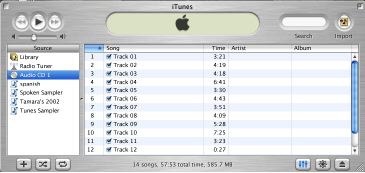
4. Click to remove the check mark next to any songs you don't
want to import into your library.

5. Click the Import button to add the selected songs to
your library.

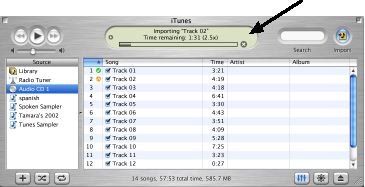
6. The display area at the top of the iTunes
window show how much time it will take to import each song. To
cancel, click the small "x" next to the progress bar.

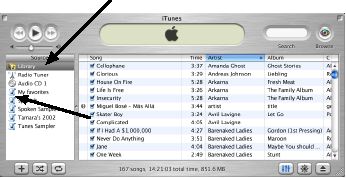
A Playlist is a list of songs that
you create.
To create a playlist:
1. Choose New Playlist from the File menu. An
untitled Playlist will appear.
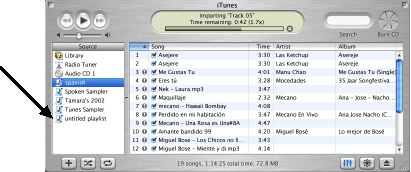
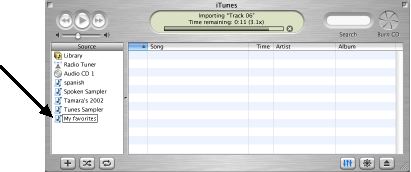
2. Type a name for the Playlist in the Source list.
3. To add a song, click Library, then drag the song from
the library to your playlist in the Source list.
![]()
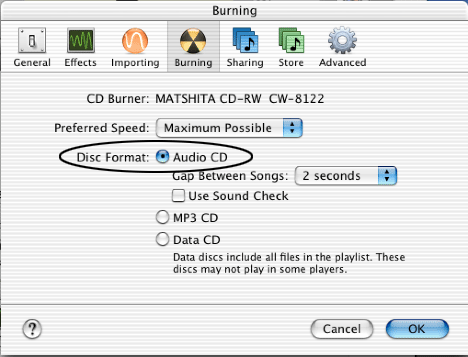
iTunes converts the songs in your playlist to standard
audio files before writing them to the CD.
You can fit about 80 minutes of music on an audio CD.
1. Choose Edit -> Preferences from the iTunes menu. Click the Burning
icon on the iTunes Preferences Window.
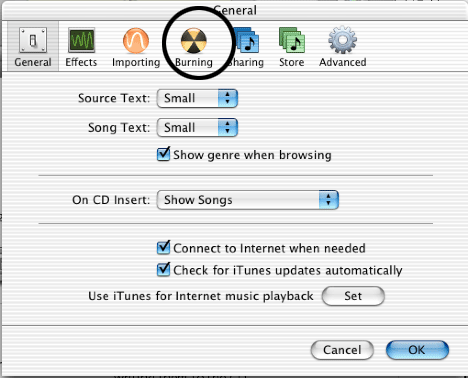
2. Make sure CD Burning is selected in the iTunes Preferences
Window, then click ok.
3. Select the playlist that you want to burn to the CD, then click the Burn CD button.
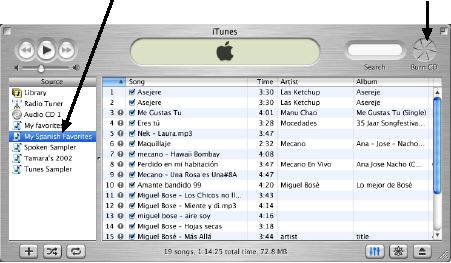
4. Insert a blank CD-R disc and click Burn
CD again.
5. It takes several minutes to write an audio CD. You can cancel
by clicking next to the progress bar, but since you can use CD-R
discs only once, you might not be able use the CD after canceling.
iTunes Help
Lori Polin-Silva, Foreign Language Teacher
Adlai E. Stevenson High School
Lincolnshire, IL